
CARE assembly instructions for gluing
Our innovative adhesive system - safe, resilient and dried quickly.
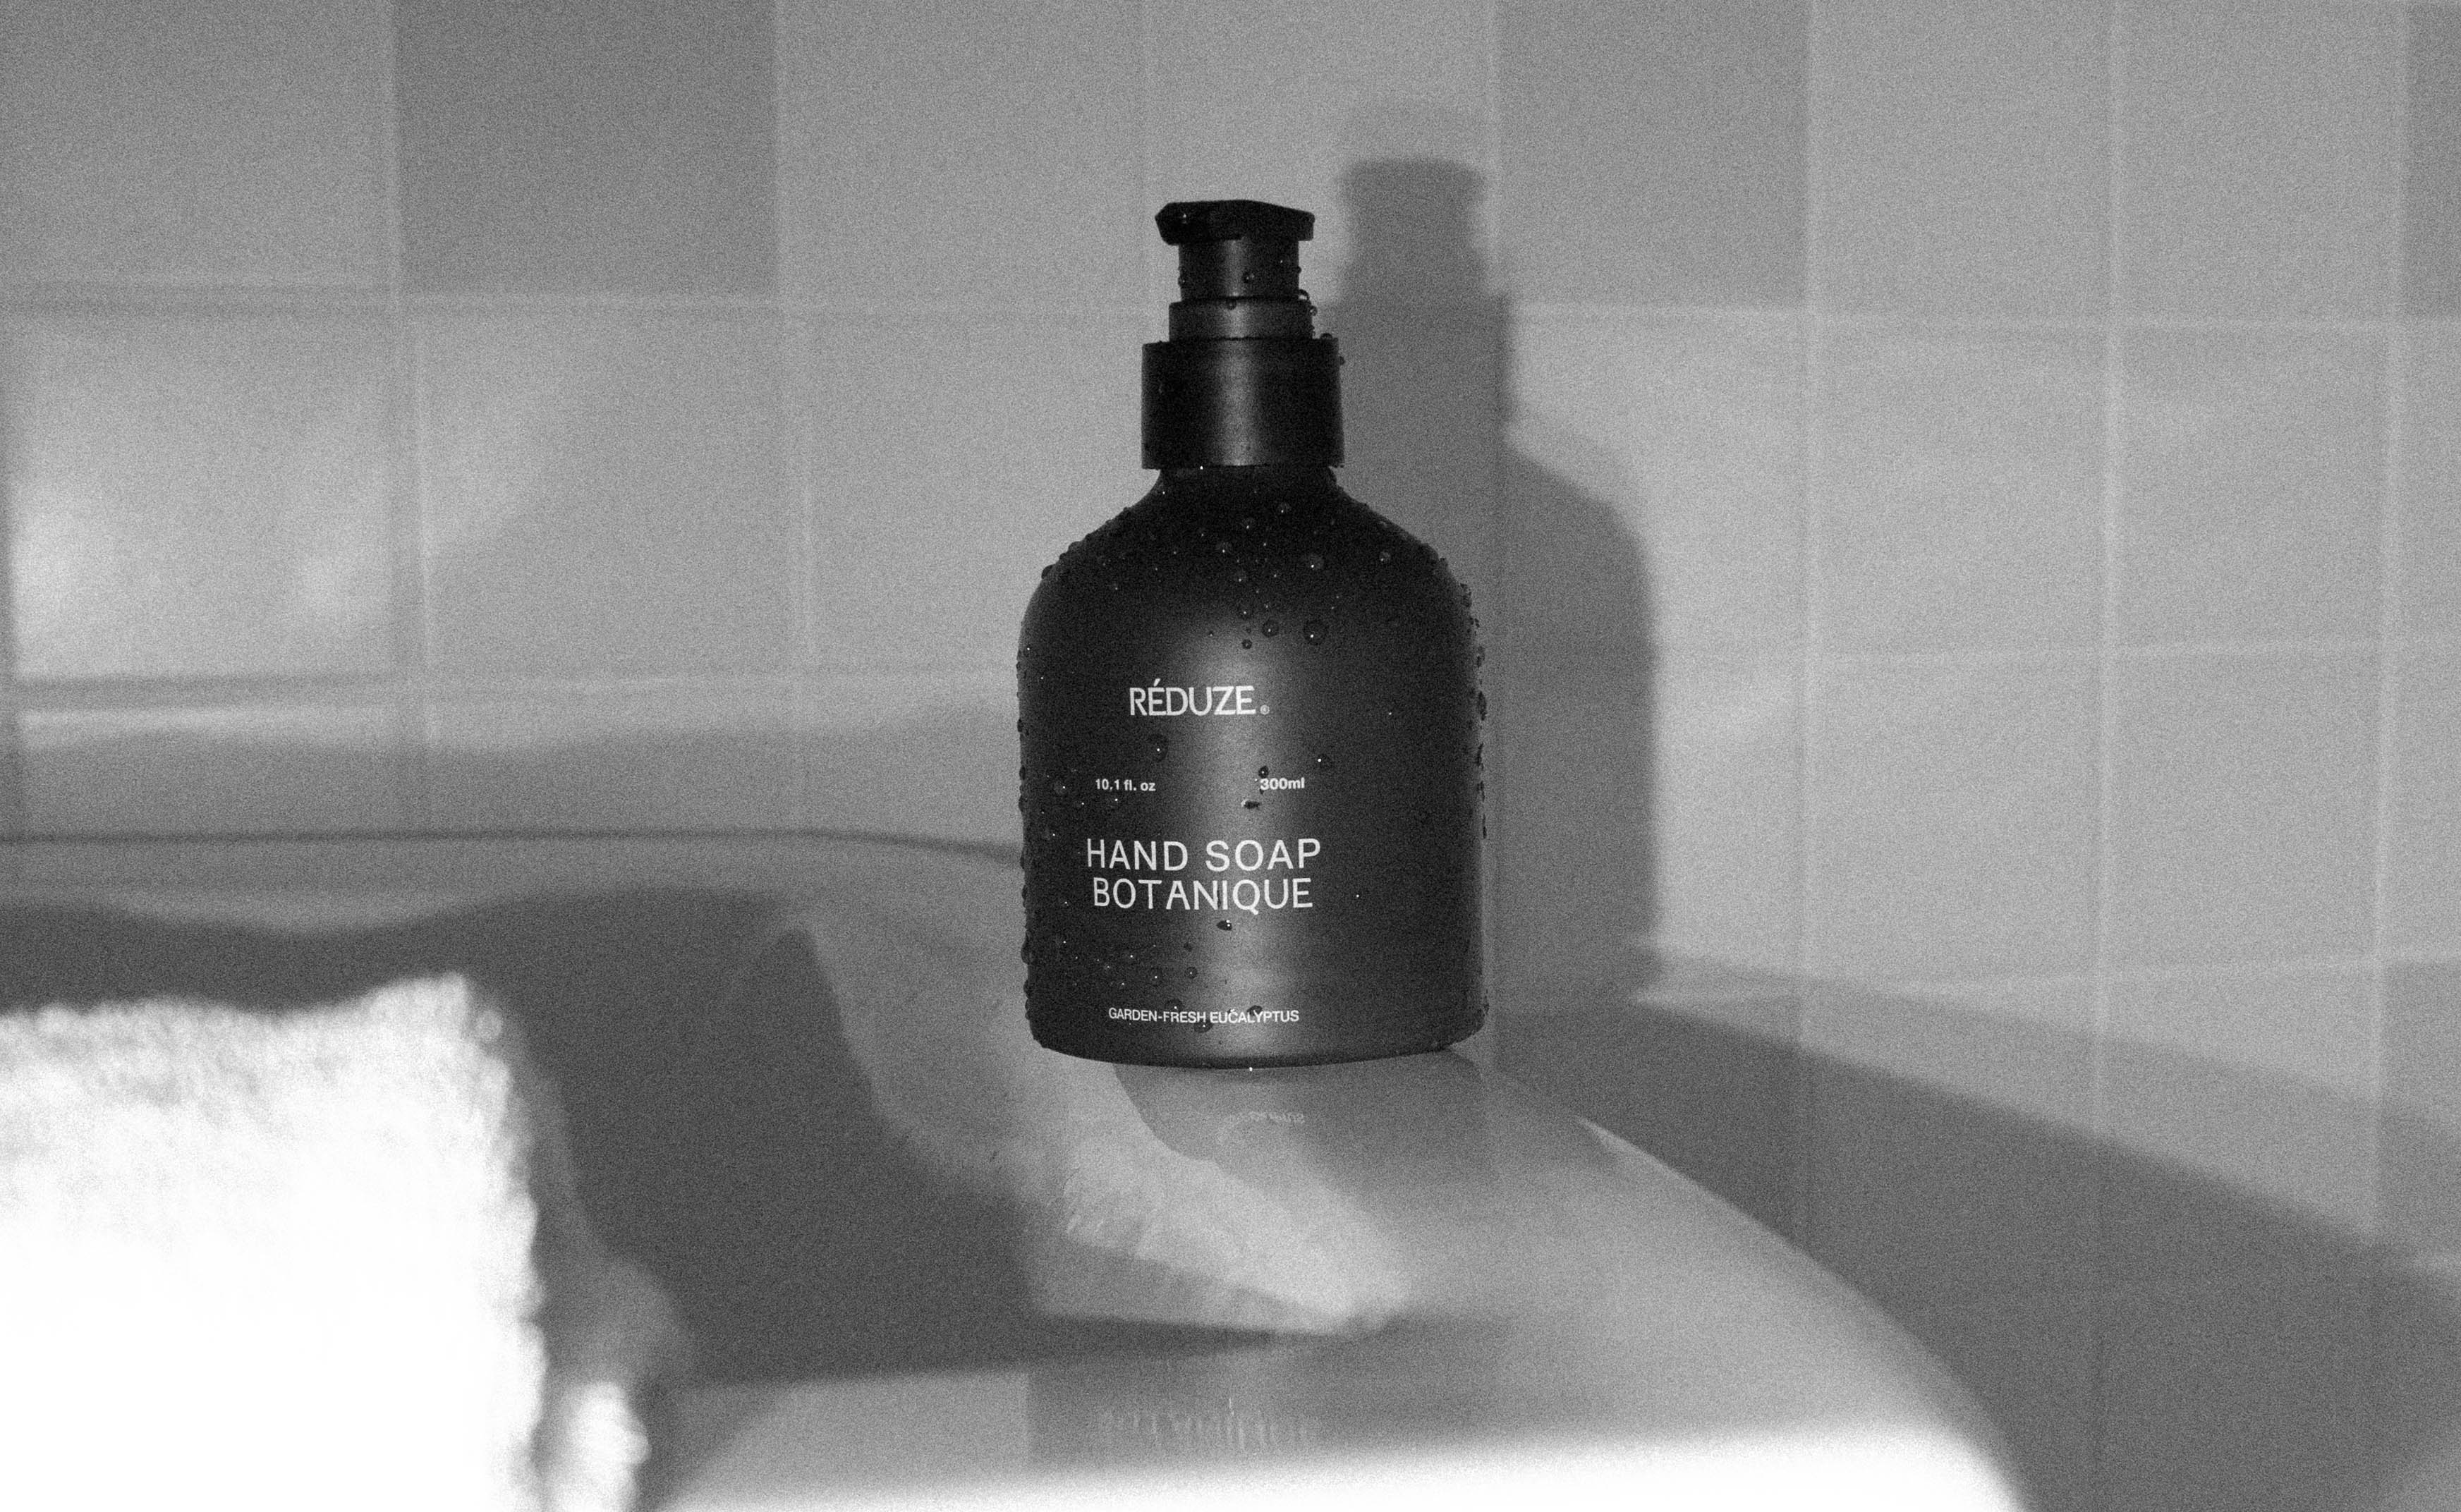
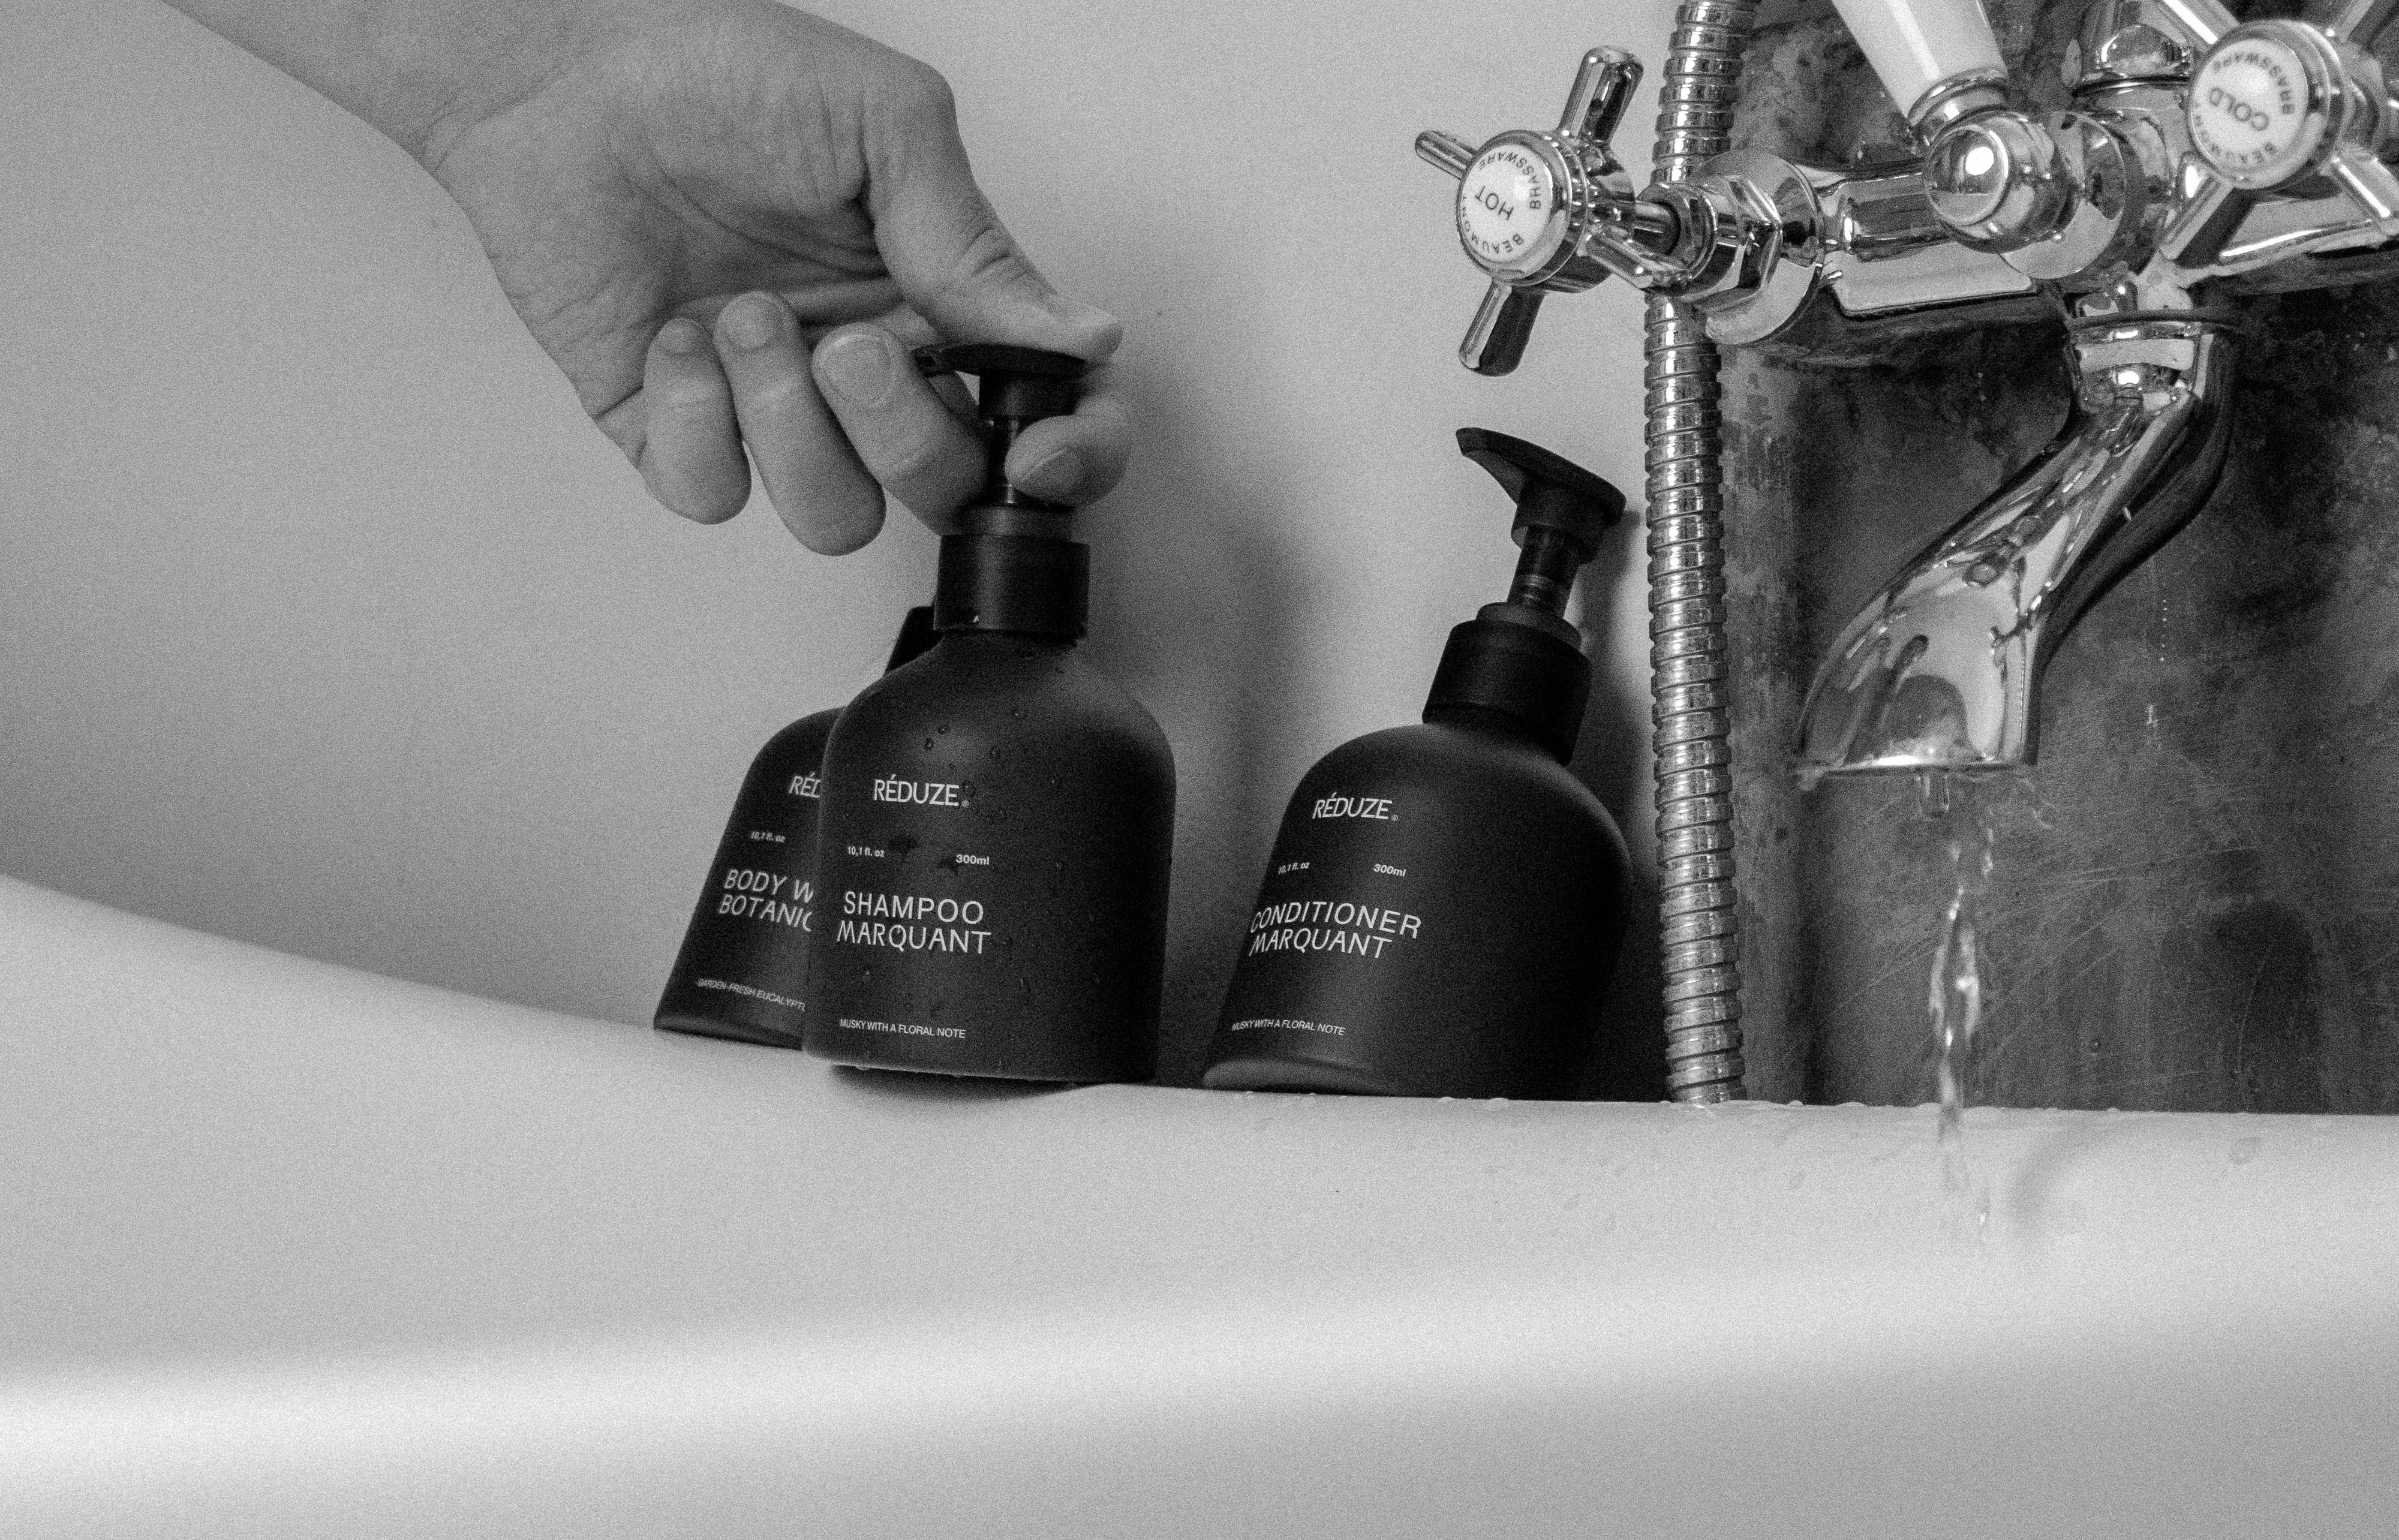
All of our wall brackets can be attached quickly and easily using our innovative adhesive system. The adhesive system comes in a mounting kit that contains all the materials needed: cleaning cloth, instructions, screwdriver, screws, mounting plate and of course the glue.
Surfaces: Tiles, mirrors, glass, metal, ceramics, plastic, stone
1. Clean surface + mounting plate
Use our cleaning cloth to clean the surface of the mounting plate and the surface of the surface on which you want to attach the wall mount (tile, etc.). Do not use your own cleaner.
2. Mark position
Align the wall mount with a spirit level at the desired end position and mark the holes with a pencil.
5. Mix glue
Mix the glue as directed on the glue packaging: The glue consists of 2 components in 2 chambers. Connect the chambers by pushing up the glue and kneading the glue so that both components mix! Knead back and forth at least 20 times and don't forget any corners.
6. Apply glue
Apply the adhesive in a strip in the middle of the mounting plate. Caution: Do not use too much glue - the amount of glue is enough for 3-4 mounting plates!
7. Press on the mounting plate
8. Remove any remaining adhesive if necessary
Depending on how much adhesive has come out of the side of the mounting plate, you can easily remove it with a cutter knife. Since the mounting plate is smaller than the wall mount, the adhesive residue is usually not visible at all.
Use our cleaning cloth to clean the surface of the mounting plate and the surface of the surface on which you want to attach the wall mount (tile, etc.). Do not use your own cleaner.
2. Mark position
Align the wall mount with a spirit level at the desired end position and mark the holes with a pencil.
3. Mark the mounting plate
Lay the wall mount aside and align the mounting plate with the marked holes. Trace the contour of the mounting plate at this position with the pencil. For Duo/Trio: Measure (preferably with a spirit level) a distance of 10cm (for 500ml bottles) or 8cm (for 250/300ml bottles) at the top marked hole and mark this Job. This is now the top hole of the second wall bracket. Align the mounting plate of the second wall bracket with the spirit level and mark the contour. For a trio, repeat this step again.
Lay the wall mount aside and align the mounting plate with the marked holes. Trace the contour of the mounting plate at this position with the pencil. For Duo/Trio: Measure (preferably with a spirit level) a distance of 10cm (for 500ml bottles) or 8cm (for 250/300ml bottles) at the top marked hole and mark this Job. This is now the top hole of the second wall bracket. Align the mounting plate of the second wall bracket with the spirit level and mark the contour. For a trio, repeat this step again.
4. Screws in mounting plate
Screw the screws into the mounting plate as far as they will go. It is important that the screw is completely screwed into the mounting plate, otherwise glue can get into the hole and the wall bracket can wobble later.
Screw the screws into the mounting plate as far as they will go. It is important that the screw is completely screwed into the mounting plate, otherwise glue can get into the hole and the wall bracket can wobble later.
5. Mix glue
Mix the glue as directed on the glue packaging: The glue consists of 2 components in 2 chambers. Connect the chambers by pushing up the glue and kneading the glue so that both components mix! Knead back and forth at least 20 times and don't forget any corners.
6. Apply glue
Apply the adhesive in a strip in the middle of the mounting plate. Caution: Do not use too much glue - the amount of glue is enough for 3-4 mounting plates!
7. Press on the mounting plate
Press the mounting plate onto the marked area. Caution: Do not press too hard so that there is still enough adhesive between the wall and the mounting plate. The glue may also protrude a little from the side. Allow the glue to dry for at least 4 hours.
Caution: The wall mount must not be attached to the mounting plate in this step. Just glue the mounting plate in place as described. The wall mount is too heavy for the “wet” glue and would slip off the wall!
Caution: The wall mount must not be attached to the mounting plate in this step. Just glue the mounting plate in place as described. The wall mount is too heavy for the “wet” glue and would slip off the wall!
8. Remove any remaining adhesive if necessary
Depending on how much adhesive has come out of the side of the mounting plate, you can easily remove it with a cutter knife. Since the mounting plate is smaller than the wall mount, the adhesive residue is usually not visible at all.
9. Attach the wall bracket
Unscrew the screws from the mounting plate and then screw the wall bracket firmly to the mounting plate. Now you can screw the bottle into the wall mount. Complete!
Unscrew the screws from the mounting plate and then screw the wall bracket firmly to the mounting plate. Now you can screw the bottle into the wall mount. Complete!
Do you need help? We will be happy to help you at support@reduze.com